DeepMeerkatMachine learning for video-based biodiversity surveys.
|
DeepMeerkat was supported by a Segment Open Data Fellowship. Read more!
Getting Started
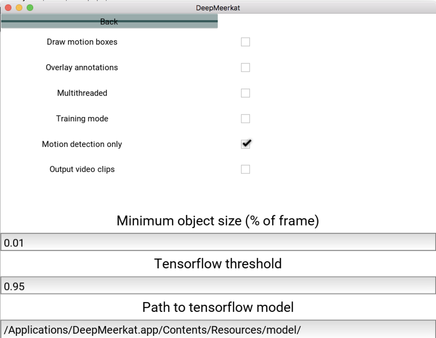
Are you using DeepMeerkat just for motion detection? If so, make sure to select the advanced options.
For a general overview, check out an intro I recorded for the 2018 Tropical Manakin RCN Meeting in Panama
Getting the most out of DeepMeerkat
Below is a conversation I had with a recent user group. I think it will help other users as well.
Here is their video sample.
Here is their video sample.
"Hi Ben - Default settings returned about 14% of frames. How can we improve?"
My thoughts:
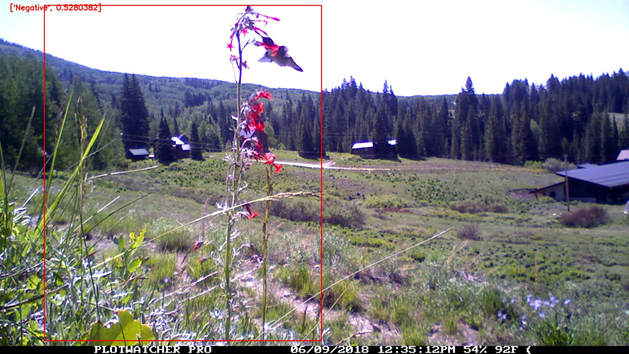
Camera placement: Go a bit closer, that grass tuft on the left is hurting you at a critical moment.
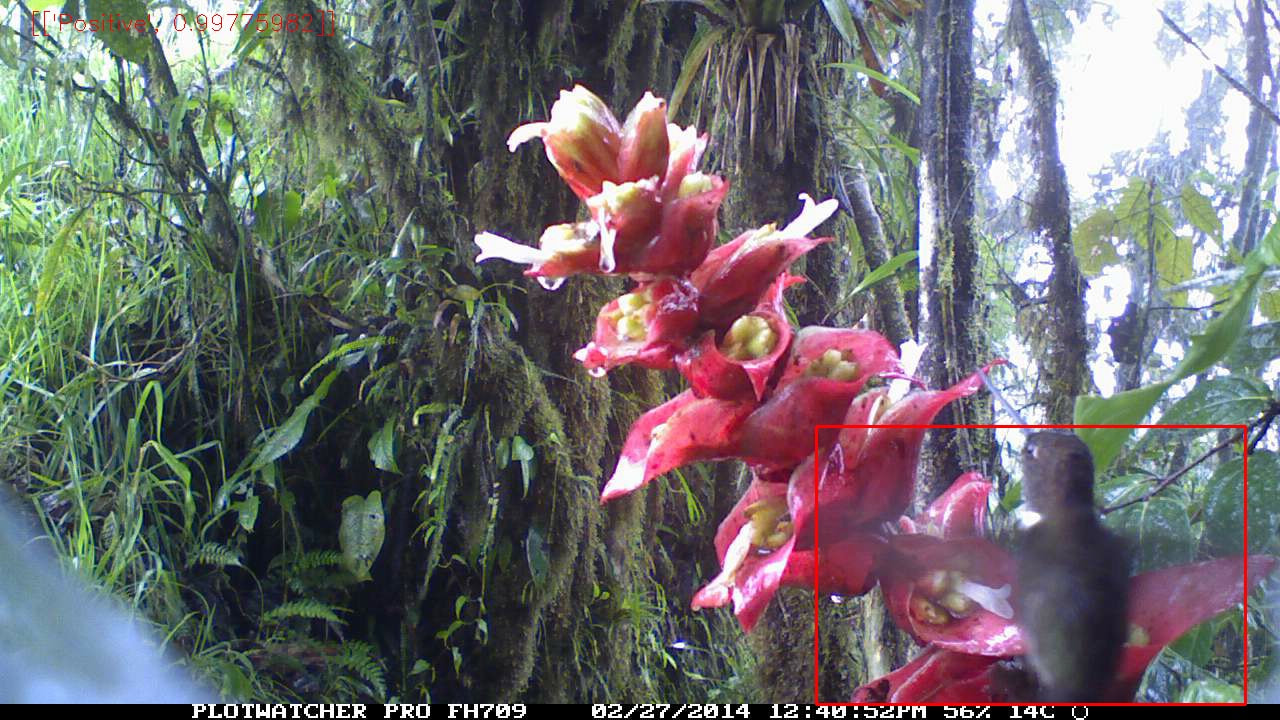
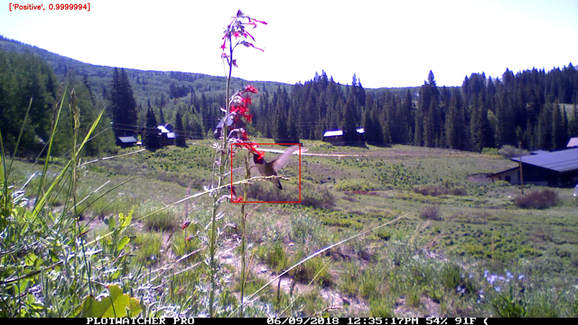
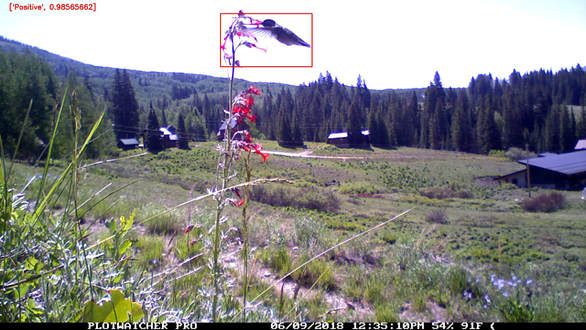
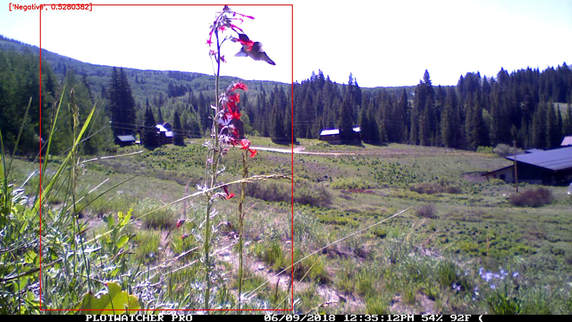
The reason this was scored negative is that bounding box is a bit too big, because the grass was also moving (you can turn the box labeling on in advanced settings). Had you been a bit closer, (or just pulled back that grass) you would have been good. When the bounding box hits it, the detector works great. This is great news!
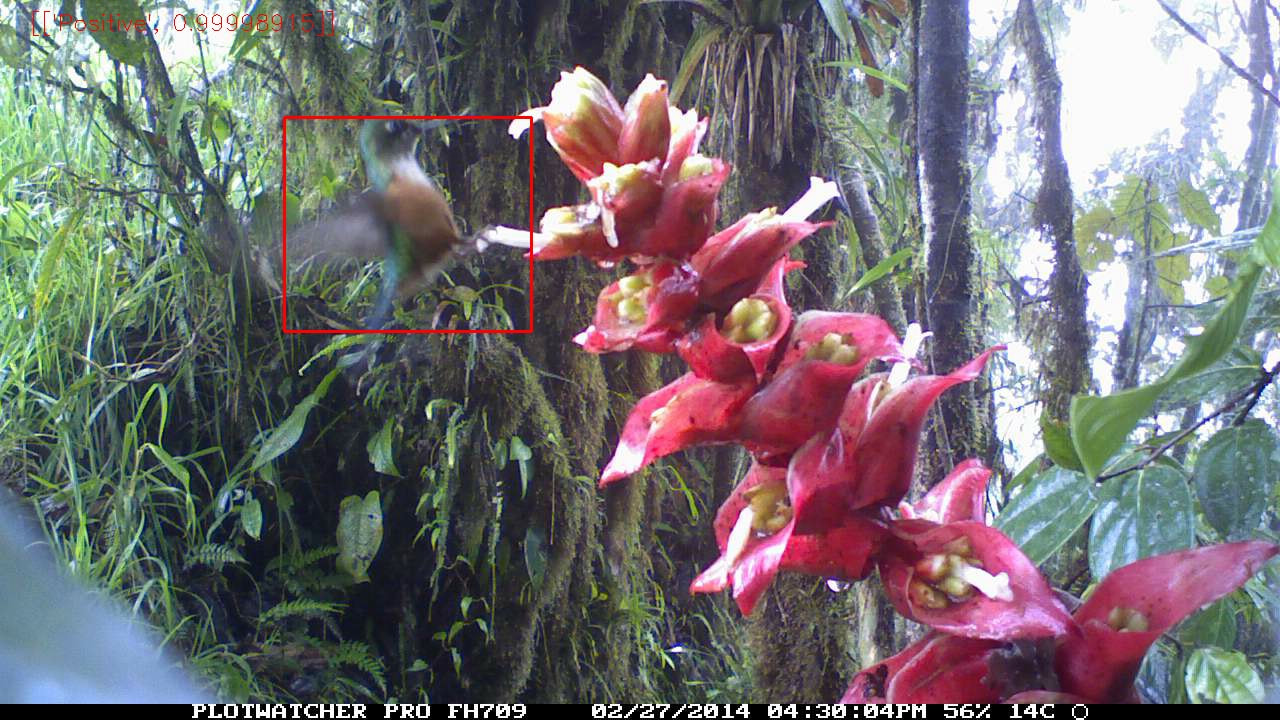
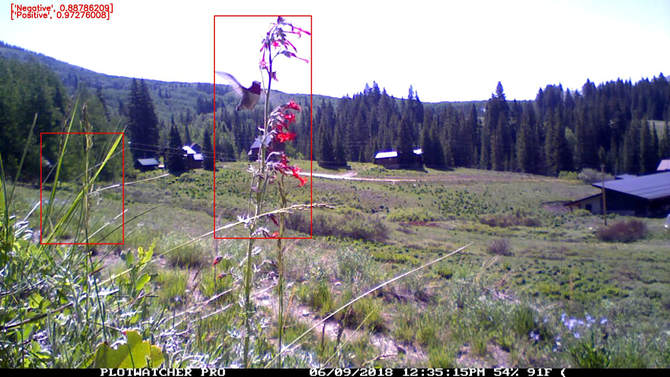
Small deviations in the flower aren't going to trouble it. Here it had two boxes, and correctly sorted them.
"But why did i get so many frames back?", you might ask. The software is designed to be conservative.
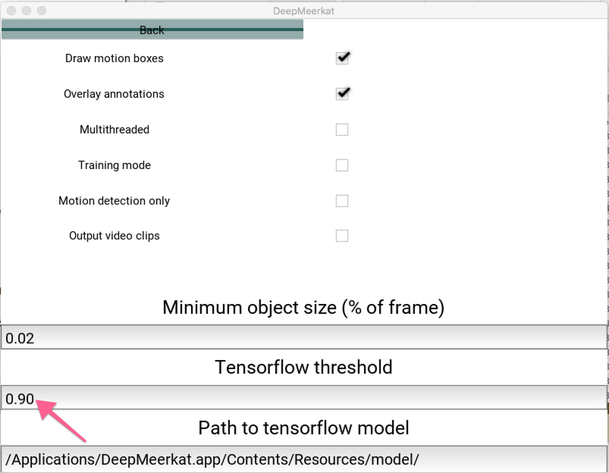
In advanced settings, there is "tensorflow threshold".
This says "only ignore negative frames if they have a probability greater than 90%". The default is 95%. Given the performance of what i've seen so far, you can carefully bring that value down, you will get much less frames. Even if a few frames are misidentified, they will still returned to you. For example in that first image, the model basically says, its 50-50, i have no idea.
But you still get that frame back, because it is less than the 90% threshold you set. Since our goal is to return the frame to the user, we still consider that a win.
Let's run an "aggressive" strategy. Set the tensorflow threshold of 0.7 and a min size of 0.02.
Result: 6.2% frames returned, and still has many hummingbird frames.
From that perspective, it looks pretty good!
Let's run an "aggressive" strategy. Set the tensorflow threshold of 0.7 and a min size of 0.02.
Result: 6.2% frames returned, and still has many hummingbird frames.
From that perspective, it looks pretty good!
Generating Training Clips
With the publication of the article in Methods in Ecology and Evolution, I hope there will be many users hoping to train their own models. I was just contacted by Bette Loiselle and her collaborators studying manakins in Central America. Manakins are communal lekking species with males performing elaborate displays!
The goal of using DeepMeerkat is to find the relatively rare periods of time when manakins are present. Let's go through the process of training a new model. I'm going to try to present this as much as possible from a new user's perspective. I'll add in some thoughts about decisions specific to a project.
- Download and Install DeepMeerkat. Either use the binaries provided above, or get the latest build from github.
- Collect training videos. What kind of videos are good for use? Typical ones! Don't bias the training in a way that will distort the kind of images it expects in future videos. Just pick your typical videos. Try to pick a diverse bunch, some with lots background motion, some with little motion. We can customize our target classes as we continue.
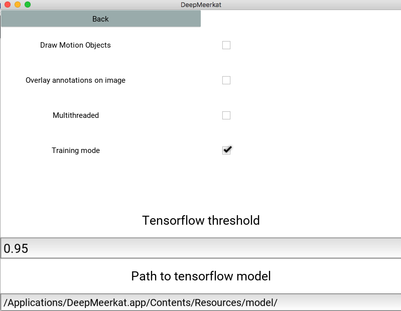
- Open DeepMeerkat and run in training mode.
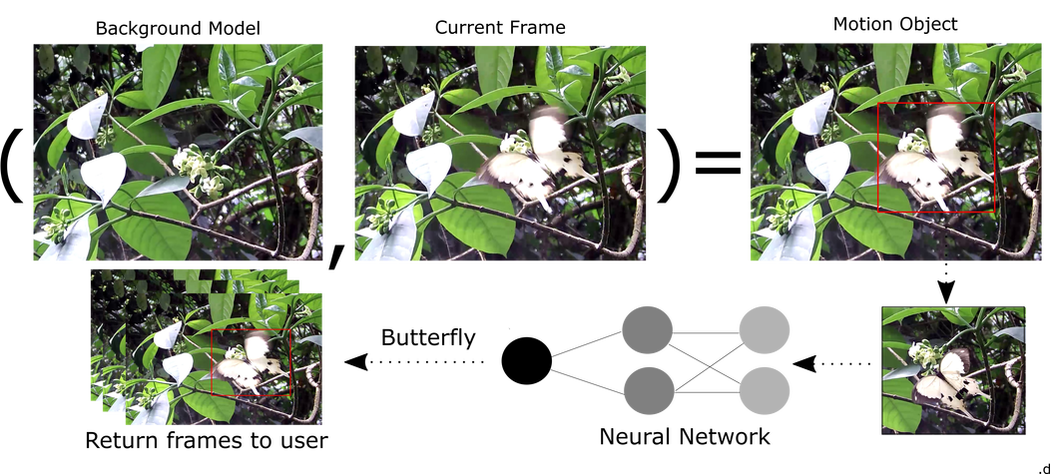
- This will return cropped frames that have been detected by the motion detection algorithm.
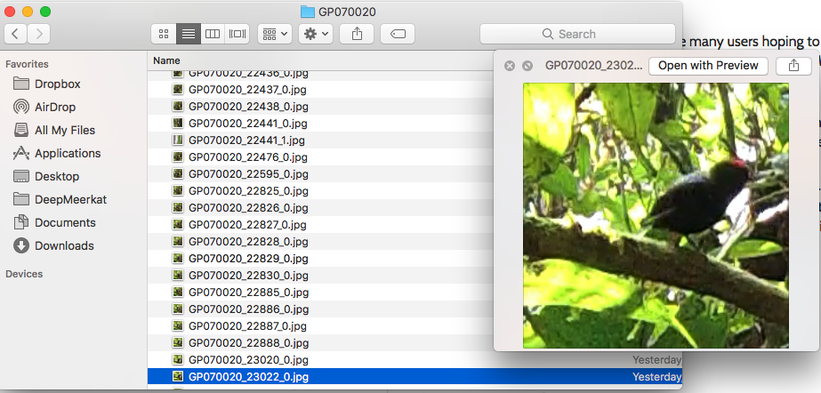
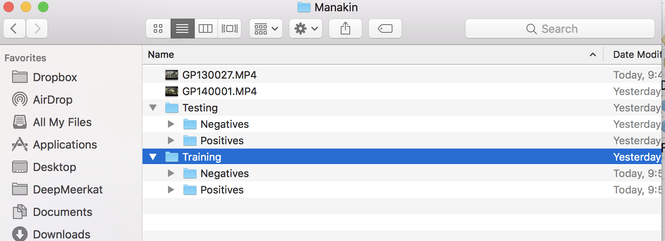
- Now its time to sort the output frames. Make two folders, one called Training and one called Testing. Within each folder make a Positive and Negative folder.
- Place images of your object of interest in the Positives folder. Place images of the background into the Negatives folder. The training data is used to predict the testing data. I recommend a minimum of 10:1 ratio of training to testing data. For example, in my paper I had 14,000 positives and negatives and 500 training samples for each class.
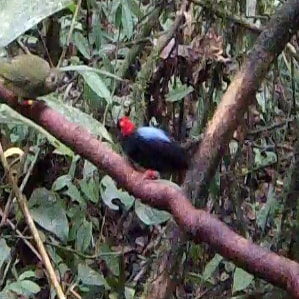
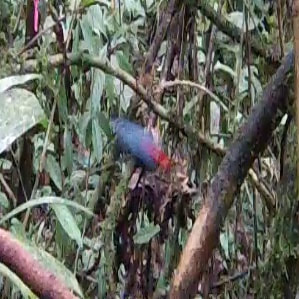
- But what counts as a positive image? This depends on the use case and there is no general rule. Think of it as what kind of image would I want to see returned from a future video. In our manakin example, we are just trying to find the periods when a manakin is present. Researchers will probably go back for future review to the original video. It can be tricky to decide and I recommend creating a folder of secondary positives to test whether including them helps prediction. For now, let's call images like the top image a Positive, and we will delete the second image, and not use it as positive or negative. In the second photo, we might be able to tell there is a male manakin there, but I wouldn't want to use it as data.
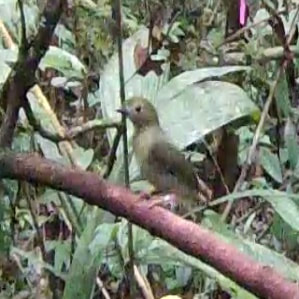
- Most applications of image-based machine learning use tens of thousands of examples, even millions of sample images. Ecology cannot afford such luxuries. The drawback is that we must be constantly vigiliant of overfitting, where our model sees and image and will only look for extremely similiar images. DeepMeerkat uses statistical functions to try to reduce overfitting. But its not magic. If we want manakins in many different poses, depths and conditions, we need to keep training our model. For example, if we want images of both male and female manakins, we need to train on images of females as well.
Advanced Training: For most users, the above strategy will work well to generate training frames. For those ecologists accustomed to the command line, I wanted to take a brief second to show how we can manipulate a couple arguments that might be useful in special cases.
- DeepMeerkat lives in the application folder, and the entry point is called main. We can directly access the main application in terminal (or cmd for windows users). We can then run the command line version and change any of the default arguments. In case, I thought it was useful to reduce the minimum size to 0.0001 to make sure any motion, no matter the number of pixels, will be returned.
Next steps: Now that we have images scored as Positive and Negative, its time to train our model. Let's head on over to github to look at cloud-based training (recommended) and local training.

